Introduction
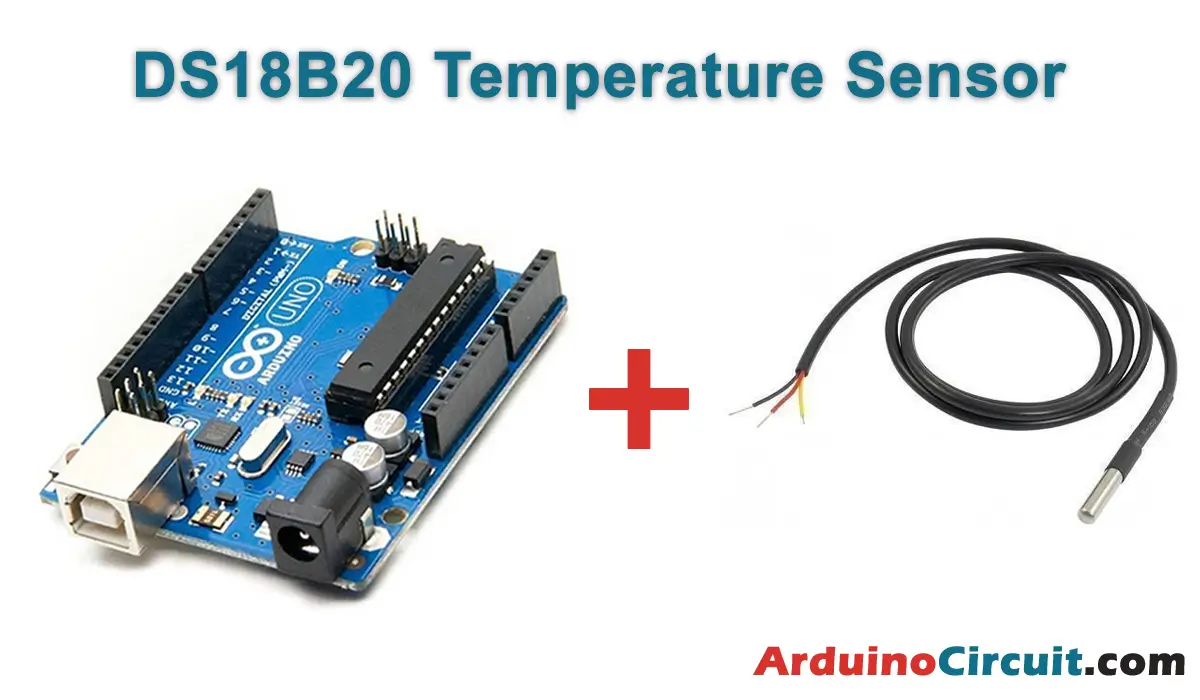
In this tutorial we will see How to connect DS18B20 Temperature Sensor with Arduino board, you will also find a programming code for your first tests. The DS18B20 is a digital temperature sensor that uses a 1-wire interface to communicate with the Arduino microcontroller. It is capable of measuring temperatures from -55°C to +125°C with a ±0.5°C accuracy. This makes it an ideal choice for many temperature-sensing applications.
The DS18B20 sensor is a digital input component, that is, its operation consists of delivering the information corresponding to the ambient temperature through a specific communication protocol implemented in its signal pin, the Arduino card in turn receives the signal and reads it with one of its digital pins. In this example, we will connect the signal pin of our sensor to digital pin #2 of the card.
Hardware Required
You will require the following Hardware Components How to connect DS18B20 Temperature Sensor with Arduino.
| Components | # | Buy From Amazon |
|---|---|---|
| Arduino UNO | 1 | Buy Now |
| Temperature Sensor DS18B20 | 1 | Buy Now |
| Resistor 4.7KΩ | 1 | Buy Now |
| Jumper Wires | 3 | Buy Now |
| Breadboard | 1 | Buy Now |
What is DS18B20?
The DS18B20 is a digital temperature sensor that can be used to measure temperatures ranging from -55°C to +125°C. It is a versatile sensor that can be used in a variety of applications, including environmental monitoring, temperature control systems, and industrial process control.
Specifications
- Temperature range: -55°C to +125°C
- Accuracy: ±0.5°C from -10°C to +85°C
- Resolution: 9 to 12 bits
- Supply voltage: 3V to 5.5V
- Operating current: 1mA
- Interface: 1-Wire
Features
- Easy to use 1-Wire interface
- High accuracy over a wide temperature range
- Compact size
- Can be powered from the same line used for data communication
- Can be connected in parallel to multiple sensors
Pinout

Pin Configuration
| Pin Name | Description |
| Ground | Connect to the ground of the circuit |
| VCC | Powers the Sensor, can be 3.3V or 5V |
| DATA | Output temperature value which can be read using 1-wire method |
Circuit Diagram
The following circuit shows you the connection of How to connect DS18B20 Temperature Sensor with Arduino Please make the connection carefully

Steps before executing the code
As we previously mentioned, the DS18B20 sensor delivers the information through a serial communication protocol implemented in a single pin, the OneWire protocol. In this case, we will use the <OneWire.h> and <DallasTemperature.h> libraries to perform the reading in a simple way and with very few lines of code. These libraries are not part of the pre-installed libraries of the Arduino IDE so we will have to install them before we can compile our code. To do this, follow these steps:
Installing Arduino IDE Software
First, you will require to Download the updated version of Arduino IDE Software and Install it on your PC or laptop. if you Learn How to install the Arduino step-by-step guide then click on how to install Arduino Button given Blow
Installing Libraries
Now when you are Ready to upload the code, to the Arduino Board you will need first to add the Following Libraries in Arduino, If you Learn How to add the library in the Arduino step-by-step guide click on how to install the library Button given Blow
Code
We upload the code to the Arduino Uno card and open the serial monitor to observe the temperature delivered by the sensor every 0.5 seconds approximately.
//For more Projects: www.arduinocircuit.com

//Incluimos las librerías necessarias
#include <OneWire.h>
#include <DallasTemperature.h>
// Connect the data pin of the sensor to pin digital 2 of the arduino
#define ONE_WIRE_BUS 2

//Configuramos una instancia oneWire para comunicarnos con cualquier dispositivo OneWire
OneWire oneWire(ONE_WIRE_BUS);

//Pasamos nuestra resferencia oneWire a la instancia de DallasTemperature
DallasTemperaturesensors(&oneWire);

void setup(void)
{
  //Iniciamos el puerto serie
  Serial.begin(9600);
  Serial.println("DEMO Dallas Temperature");

  //Initializamos la librería
  sensors.begin();
}

void loop(void)
{
  Serial.print("Solicitando temperatures...");
  sensors.requestTemperatures(); //Enviamos el commando para obtener la temperatura
  Serial.println("Terminado");
  //Después de haber recibo las temperatures podemos imprimirlas

  Serial.print("Temperature del dispositivo uno (index 0): ");
  Serial.print(sensors.getTempCByIndex(0));
  Serial.println("°C");

  delay(500);
}
Applications
- Temperature monitoring in refrigerators, freezers, and other appliances
- Environmental monitoring in industrial and commercial settings
- Temperature control systems in HVAC and other equipment
- Industrial process control and monitoring
- Medical applications such as monitoring body temperature
Conclusion
The DS18B20 is a reliable and accurate temperature sensor that can be easily integrated with the Arduino microcontroller. Its compact size, wide temperature range, and low power consumption make it a popular choice for many temperature-sensing applications. With its 1-Wire interface, the DS18B20 can be connected to multiple sensors in parallel, making it a versatile option for many different projects.