Introduction
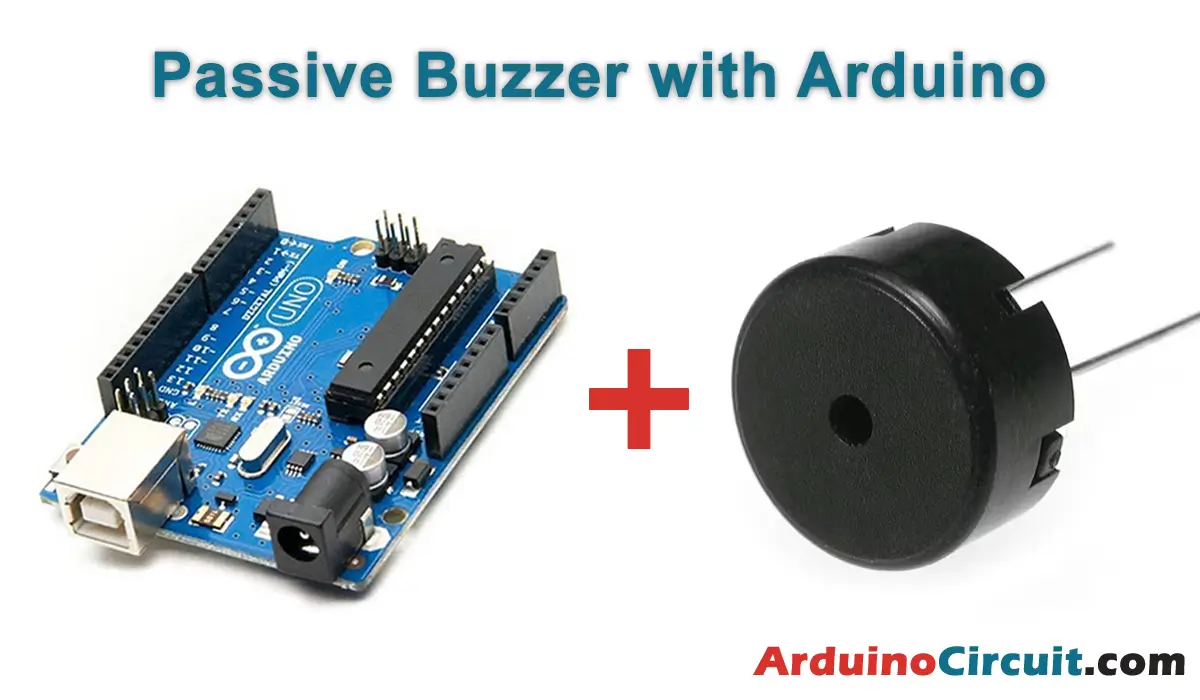
In this tutorial, we will learn about How to Connect Passive Buzzer with Arduino and how to use them with Arduino. Passive buzzers are basic audio output devices that produce a single tone or beep sound when connected to a power source. Unlike active buzzers, passive buzzers require an external signal to produce sound.
A passive buzzer is a device that has the ability to transform a variable voltage signal into an audio signal, it is known as passive because it does not have internal components that generate signals with audible frequencies, so the voltage signal which is controlled must have the frequencies corresponding to the note we want to hear.
Hardware Required
You will require the following Hardware Components for How to Connect Passive Buzzer with Arduino.
| Components | # | Buy From Amazon |
|---|---|---|
| Arduino UNO | 1 | Buy Now |
| Passive Buzzer | 1 | Buy Now |
| Jumper Wires | 2 | Buy Now |
| Breadboard | 1 | Buy Now |
What is a Passive Buzzer?
A passive buzzer is a simple audio output device that generates a single tone or beep sound when a voltage is applied. Unlike active buzzers, passive buzzers require an external signal to produce sound.
Specifications
- Operating Voltage: 5V
- Sound Output: Single tone or beep
- Frequency Range: 2kHz to 4kHz
Features
- Low cost and easy to use
- Requires an external signal to produce sound
- Produces a single tone or beep sound
- Can be used with various microcontrollers, including Arduino
Pinout

Pin Configuration
| Pin Name | Pin Type |
|---|---|
| Positive | Positive supply Pin |
| Negative | Ground Pin |
Working Explanation
In this way, a passive buzzer is an output component, that is, its operation consists of receiving a variable voltage signal to convert it into an audio signal, the Arduino Uno card has the ability to generate square signals at different frequencies on its digital pins. using the tone() function . In this example, we will connect the signal pin of our passive buzzer to digital pin #9 of the card.
It’s important to note that the tone() function interferes with the ability to generate PWM signals on digital pins 3 and 11, so if you want to use the tone() function and the analogWrite() function in the same code make sure you don’t select those pins.
Circuit Diagram
The following circuit shows you the connection How to Connect Passive Buzzer with Arduino Please make the connection carefully

Circuit Connections
| Arduino | Buzzer |
|---|---|
| Pin 9 | Positive |
| GND | Nagative |
Installing Arduino IDE Software
First, you will require to Download the updated version of Arduino IDE Software and Install it on your PC or laptop. if you Learn How to install the Arduino step-by-step guide then click on how to install Arduino Button given Blow
Code
We upload the code to the Arduino Uno card and listen to the different notes that we programmed
//For more Projects: www.arduinocircuit.com

const int pinBuzzer = 9; //Constante que contiene el numero del pin de Arduino al cual conectamos un buzzer pasivo

const int frecuencias[] = {261, 277, 294, 311, 330, 349, 370, 392, 415, 440, 466, 494};//Arreglo que contiene las frecuencias que queremos escuchar en nuestro buzzer
const int numFrequencies = 10;

void setup()
{
}

void loop()
{
  for (int i = 0; i < numFrequencies; i++)
  {
   tone(pinBuzzer, frequencies[i]);
   delay(1000);
  }
  noTone(pinBuzzer);
}
Applications
- Alarm systems
- Home automation
- Game consoles
- Electronic toys
- DIY projects
Conclusion
Passive buzzers are basic audio output devices that are easy to use and inexpensive. They require an external signal to produce sound and can be used in a variety of applications, including alarm systems, home automation, and electronic toys. By connecting a passive buzzer to an Arduino and generating a square wave with a specific frequency, we can produce different tones and create various sounds.


