
Introduction
The KY-006 Passive Piezoelectric Buzzer module can create a field of sound tones that is depending on the input signal frequency coming from the arduino. For generating the single-tone sounds use the KY-012 Active Buzzer Module
This module is able to interface with popular electronic platforms like Arduino, ESP32, Raspberry Pi, and other microcontrollers. that send the signals to the Buzzer module to generate the tone.
Hardware Required
You will require the following Hardware Components for the Interfacing of the KY-006 Passive Piezoelectric Buzzer module with arduino.
| Components | # | Buy From Amazon |
|---|---|---|
| Arduino UNO | 1 | Buy Link |
| KY-006 Passive Piezoelectric Buzzer module | 1 | Buy Link |
| Jumper Wires | – | Buy Link |
| Breadboard | 1 | Buy Link |
Specifications
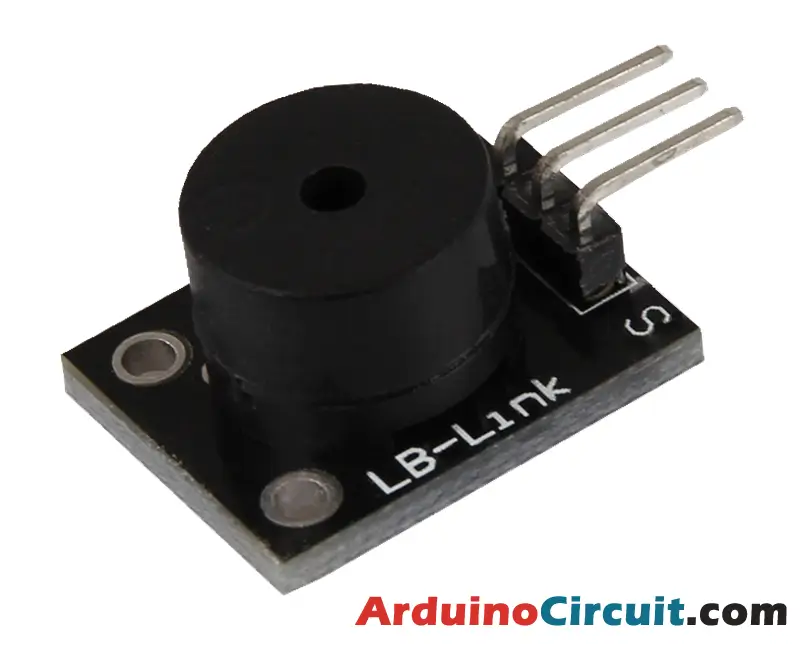
This module contains a passive buzzer and 3 male header pins. You can operate it to develop tones between 1.5kHz to 2.5kHz by turning it on and off continually at various frequencies either utilizing PWM or delays.
| Operating Voltage | 1.5V ~ 15V DC |
| Tone Generation Range | 1.5kHz ~ 2.5kHz |
| Board Dimensions | 18.5mm x 15mm [0.728in x 0.591in] |
Pinout

Pin Configuration
| Pin Name | Pin Type |
|---|---|
| S | Signal Pin |
| middle Pin | Vcc (+5) |
| ( – ) | Ground |
Circuit Diagram
The following circuit shows you the connection of the KY-006 Passive Piezoelectric Buzzer module with Arduino Please make the connection carefully

Circuit Connections
Place the Buzzer module on a Breadboard and connect the ground (-) of the module to the GND of arduino and connect the signal (S) pin of the module to pin 8 of the arduino and the last middle pin is not used.
| Arduino | Module |
|---|---|
| Pin 8 | Signal |
| – | middle |
| GND | GND |
Installing Arduino IDE Software
First, you will require to Download the updated version of Arduino IDE Software and Install it on your PC or laptop. if you Learn How to install the Arduino step-by-step guide then click on how to install Arduino Button given Blow
Code
The following Arduino code will develop two various tones by quickly switching on and off the buzzer at various frequencies operating a delay.
int buzzer = 8; // set the buzzer control digital IO pin
void setup() {
	pinMode(buzzer, OUTPUT); // set pin 8 as output
}
void loop() {
	for (int i = 0; i < 100; i++) {  // make a sound
		digitalWrite(buzzer, HIGH); // send high signal to buzzer
		delay(1); // delay 1ms
		digitalWrite(buzzer, LOW); // send low signal to buzzer
		delay(1);
	}
	delay(50);
	for (int j = 0; j < 100; j++) { //make another sound
		digitalWrite(buzzer, HIGH);
		delay(2); // delay 2ms
		digitalWrite(buzzer, LOW);
		delay(2);
	}
	delay(500);
}
Applications
- Intruder Alarm: Trigger an alarm when a sensor detects intrusion.
- Doorbell Sound: Emit a doorbell-like sound on button press.
- Timer Alert: Provide audible alerts during a timer countdown.
- Game Feedback: Offer audio feedback based on game progress.
- Health Alarm: Emit alerts for abnormal health sensor readings.


