Introduction
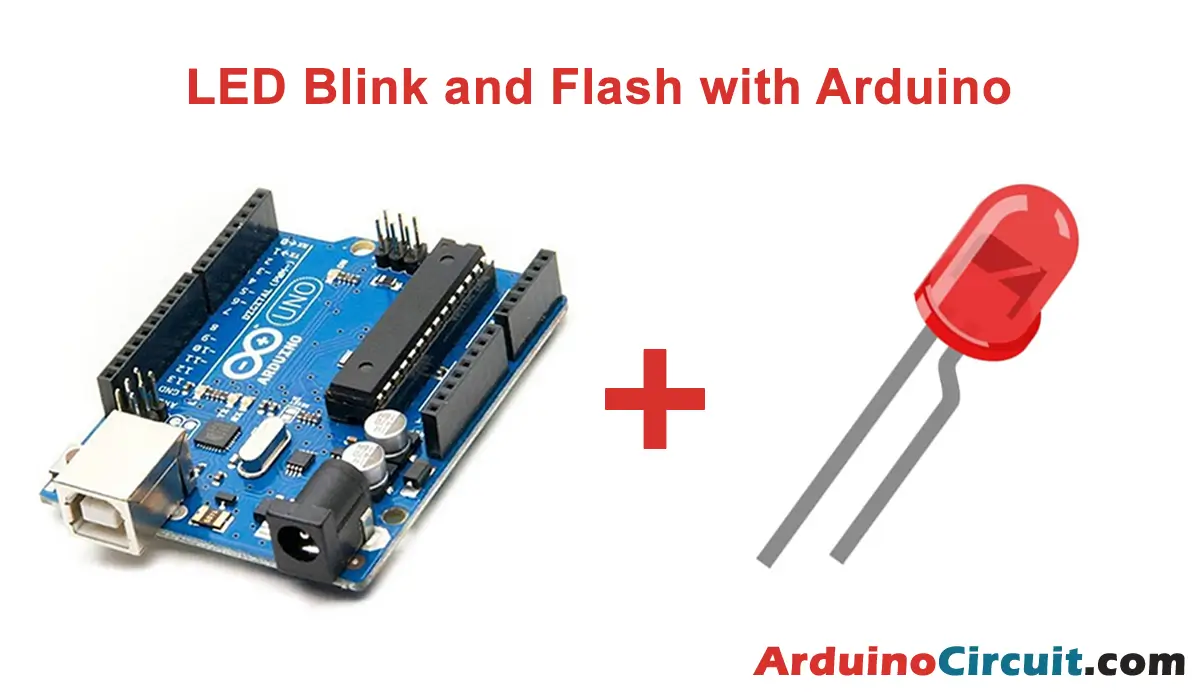
Hi, today we will start using the Arduino board: you will learn how to make a led flash in a pulsed and regular way. This is usually the first project that is made with Arduino UNO and is the basis for those who start programming it.
We can also use the integrated LED on the card indicated with the letter L without necessarily connecting the LED as per the diagram. The L led already has an integrated smd resistor on the board, this allows us to insert the led directly into the GND and 13 pins.
Hardware Required
You will require the following Hardware Components for the LED Blink and Flash with Arduino.
| Components | # | Buy From Amazon |
|---|---|---|
| Arduino UNO | 1 | Buy Link |
| LED 5mm | 1 | Buy Link |
| Resistor 220Ω | 1 | Buy Link |
| Jumper Wires | – | Buy Link |
| Breadboard | 1 | Buy Link |
What is LED Blink?
LED (Light Emitting Diode) blinking is a simple yet powerful application of LEDs that involves turning the LED on and off in a periodic manner. LED blinking is often used as a visual indication in electronic circuits and systems to provide feedback to the user or to perform simple signaling tasks.
One of the most common applications of LED blinking is as a visual indication of system status. For example, a power-on LED in a computer system that blinks when the system is starting up or shutting down provides an instant visual indication of the system’s status to the user. Similarly, a flashing LED in a burglar alarm system signals that the system is armed and ready to detect intrusions.
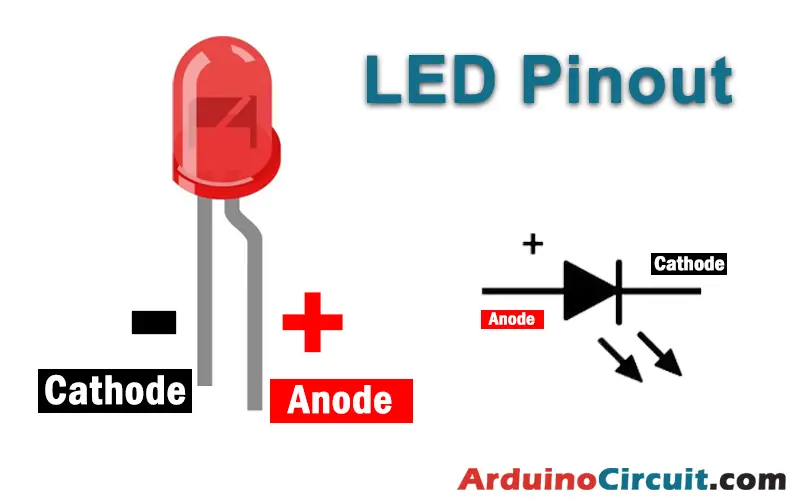
Pinout

Pin Configuration
| Pin Name | Pin Description |
|---|---|
| ( – ) or Short Pin | Cathode |
| ( + ) or Long Pin | Anode |
Circuit Diagram
The following circuit shows you the connection of the LED Blink and Flash with the Arduino

Circuit Connection
Place the LED on the BreadBoard and connect the power line pin -ve of the LED to the GND pin of the arduino and connect the Resistors 1-pin to 13 pin of the Arduino respectively. and the 2-pin of Resistor is connected to the +ve of the LED
| Arduino | Resistor | LED |
|---|---|---|
| 13 Pin | Pin-1 | |
| GND | -Ve | |
| Pin-2 | +Ve |
Installing Arduino IDE Software
First, you will require to Download the updated version of Arduino IDE Software and Install it on your PC or laptop. if you Learn How to install the Arduino step-by-step guide then click on how to install Arduino Button given Blow
Code
The following Arduino code will operate LED Blink and Flash with Arduino. Here you can change the values inside delay () to change the speed of turning on and off the led.
  #define LED 13            // LED pin digitale 13

void setup() {
  pinMode(LED, OUTPUT);     // output
}

void loop() {
  digitalWrite(LED, HIGH);
  delay(1000);
  digitalWrite(LED, LOW);
  delay(1000);
}
Applications
- Another important application of LED blinking is in debugging electronic circuits. By flashing an LED at a specific rate or pattern, engineers can quickly determine if a circuit is functioning properly and identify any issues that need to be addressed. For example, if an LED blinks rapidly and continuously, it could indicate that a sensor is failing, or that there is an issue with the power supply.
- LED blinking can also be used in simple communication systems. For example, two microcontrollers can communicate with each other by flashing an LED at a specific rate or pattern to indicate specific information, such as an alarm or the status of a device.
- LED blinking is a simple and versatile application of LEDs that are used in a wide range of applications, including a visual indication of system status, debugging electronic circuits, and simple communication systems. With its low cost, ease of implementation, and wide range of applications, LED blinking is an essential tool for electronics engineers and hobbyists alike.
Please note :
- If you don’t have a LED or a resistor, you can make this project with the integrated led on our Arduino.
- No code changes are required, and no external components are required on the board.
- Simply upload the code and the LED will flash.


