Introduction
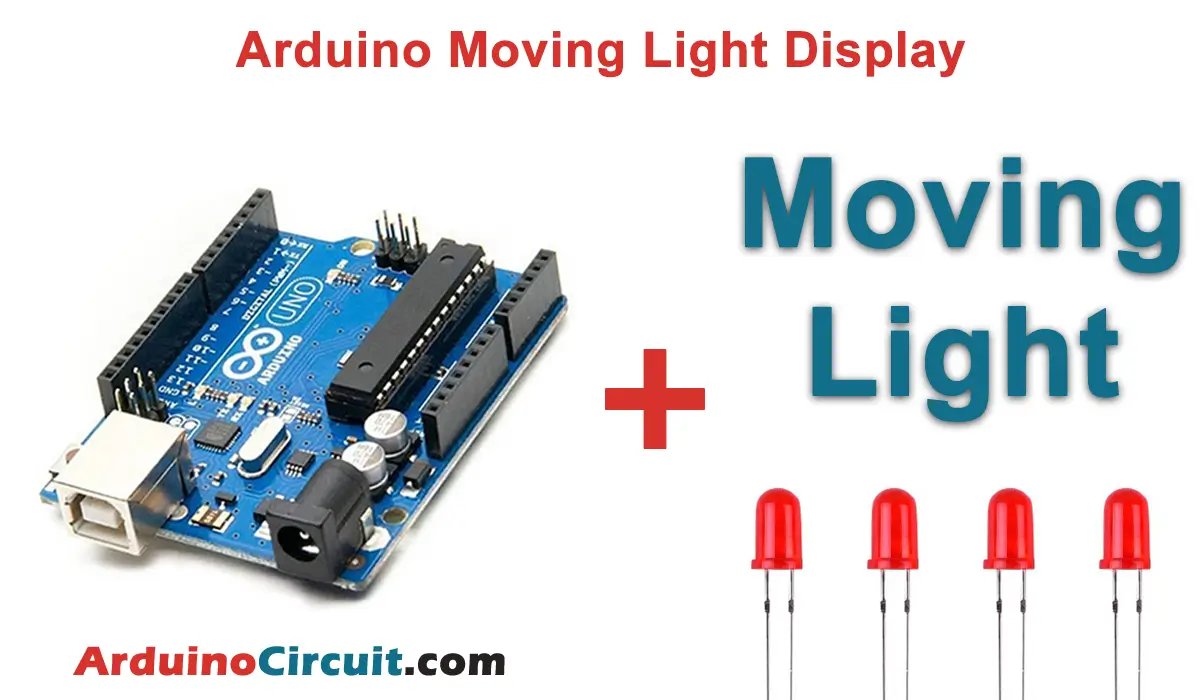
The Moving Light Display Arduino Project is an exciting project that involves creating a circuit that can display moving lights. This project is an excellent way for beginners to learn about Arduino programming, electronics, and circuit design.
The circuit consists of an Arduino board, four LEDs, and four resistors with values between 220 and 470 ohms. The LEDs are connected to the Arduino board in a specific pattern, which creates the moving light display.
Hardware Required
| Components | # | Buy From Amazon |
|---|---|---|
| Arduino UNO | 1 | Buy Now |
| LED 5mm | 4 | Buy Now |
| Resistors 220Ω to 470Ω | 4 | Buy Now |
| Jumper Wires | Few | Buy Now |
| Breadboard | 1 | Buy Now |
Circuit Diagram

Circuit Connections
| Arduino | LEDs |
|---|---|
| GND | -Ve of All LED Through Resistors |
| D2 | +Ve of 1st LED |
| D3 | +Ve of 2nd LED |
| D4 | +Ve of 3rd LED |
| D5 | +Ve of 4th LED |
Working Explanations
The Moving Light Display Arduino Project uses an Arduino board to control the display of four LEDs. The board is programmed to output a signal to the LEDs in a specific pattern, creating the moving light display.
The LEDs are connected to the Arduino board through four resistors with values between 220 and 470 ohms. The resistors are used to limit the current flow to the LEDs, protecting them from damage.
When the Arduino board is powered on, it begins to output a signal to the first LED, which turns on. The board then outputs a signal to the second LED, which turns on while the first LED turns off. This process continues for all four LEDs, creating the moving light display.
Installing Arduino IDE Software
First, you will require to Download the updated version of Arduino IDE Software and Install it on your PC or laptop. if you Learn How to install the Arduino step-by-step guide then click on how to install Arduino Button given Blow
Code
//For more Projects: www.arduinocircuit.com
// change speed of pattern change in milliseconds here
#define SPEED_MS  300

// change LED patterns here
unsigned char led_pattern[] = {
  0x01, 0x02, 0x04, 0x08, 0x04, 0x02, 0x01, 0x00,
  0x06, 0x09, 0x06, 0x09, 0x06, 0x09, 0x06, 0x09,
  0x05, 0x0a, 0x05, 0x0a, 0x05, 0x0a, 0x05, 0x0a
};

void setup() {
  // set pin 2 to 5 as outputs
  for (int i = 2; i <= 5; i++) {
    pinMode(i, OUTPUT);
  }
}

void loop() {
  DisplayPattern(led_pattern, sizeof(led_pattern));
  delay(SPEED_MS);
}

void DisplayPattern(unsigned char *pattern, int num_patterns)
{
  static int pattern_num = 0; // keeps count of patterns
  unsigned char mask = 1;     // for testing each bit in pattern

  // do for LEDs on pin 2 to pin 5
  for (int i = 2; i <= 5; i++) {
    // check if bit in pattern is set or not and switch LED accordingly
    if (pattern[pattern_num] & mask) {
      digitalWrite(i, HIGH);
    }
    else {
      digitalWrite(i, LOW);
    }
    mask <<= 1;   // adjust mask for checking next bit in pattern
  }
  pattern_num++;  // move to next pattern for next function call
  // keep pattern within limits of pattern array
  if (pattern_num >= num_patterns) {
    pattern_num = 0;
  }
}
Applications
The Moving Light Display Arduino Project has several practical applications. It can be used as a decorative light display, such as for a holiday decoration or party decoration. It can also be used as an indicator, such as to indicate the status of a device or system.
The project can also be expanded by adding more LEDs and programming the board to control them in a more complex pattern, creating a more intricate light display. Additionally, the circuit can be modified and expanded to control other electronic devices, such as motors, servos, or sensors, making it a versatile tool for electronics enthusiasts.
Conclusion
In conclusion, the Moving Light Display Arduino Project is an excellent way to learn about electronics, programming, and circuit design. The project is easy to build and requires only a few components, making it an ideal project for beginners. With its practical applications and potential for expansion, the project is a fun and useful addition to any electronics enthusiast’s toolkit.
See Also


