Introduction
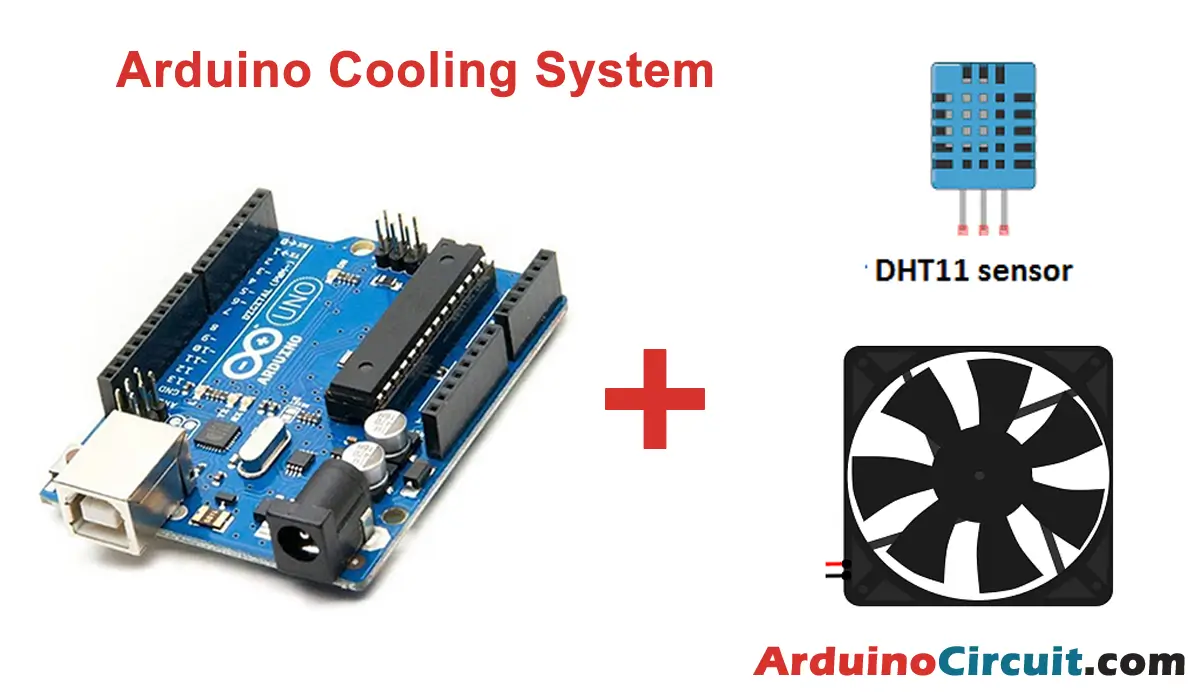
An Arduino Cooling System using DHT Sensor for beginners is an essential aspect of many electronic devices to prevent overheating and damage to the components. In this project, we will use an Arduino board to build a cooling system using a DTH11 temperature sensor, fan, and LCD display. The system will detect the temperature and turn on the fan when the temperature rises above a set limit.
The purpose of this project is to build a cooling system using an Arduino board. The system consists of a DTH11 temperature sensor, a fan, and an LCD display. The objective is to regulate the temperature by activating the fan when the temperature exceeds a certain threshold.
When the Arduino board senses that the temperature has risen above 28°C, the fan is activated to reduce the temperature. The fan will continue to run until the temperature drops below the set threshold. The system is designed to provide a simple and efficient way to maintain a comfortable temperature in a given environment. The LCD display will show the current temperature and whether the fan is on or off.
Hardware Required
| Components | # | Buy Links |
|---|---|---|
| Arduino UNO | 1 | Buy Now |
| DTH11 Temperature Sensor | 1 | Buy Now |
| LCD I2C 160A display | 1 | Buy Now |
| Fan 5V | 1 | Buy Now |
| Relay | 1 | Buy Now |
| Jumper Wires | Few | Buy Now |
| Breadboard | 1 | Buy Now |
What is the DTH11 Temperature Sensor
The DHT11 is a digital temperature and humidity sensor that is commonly used in electronic projects. It is a low-cost sensor that provides a convenient way to measure temperature and humidity with high accuracy. The sensor is available in a compact package that includes a sensor and a PCB with a few additional components for signal processing.
The DHT11 sensor uses a single-wire serial interface to communicate with the Arduino board, and it is very easy to use in any project. The sensor provides temperature and humidity data in a digital format, making it easy to read and process using the Arduino board.
DTH11 is a low-cost digital temperature and humidity sensor that can be used with Arduino. It measures the temperature in the range of -20 to 60°C with an accuracy of ± 2°C. The humidity range is 20 to 90% with an accuracy of ± 5%.
Specifications
- Input voltage: 5V DC
- Temperature range: -20 to 60°C
- Humidity range: 20 to 90%
- Accuracy: ± 2°C for temperature and ± 5% for humidity
- Dimensions: 23 x 12 x 5 mm
Features
- Low-cost
- Easy to use with Arduino
- Compact size
- Reliable and accurate
- Digital output
Pinout

DHT11 Pinout Configuration
| Pin Name | Description |
| Vcc | Power supply 3.5V to 5.5V |
| Data | Output through Serial Data |
| NC | Not used |
| GND | Ground Pin |
Circuit Diagram

Working Explanations
The working of an Arduino Cooling System using DHT Sensor for beginners is very simple. here The DTH11 temperature sensor will be connected to the Arduino board, which will monitor the temperature. When the temperature reaches above 28°C, the fan will turn on through a relay. The fan will keep running until the temperature goes back below 28°C. The temperature will be displayed on an LCD display.
Installing Arduino IDE Software
First, you will require to Download the updated version of Arduino IDE Software and Install it on your PC or laptop. if you Learn How to install the Arduino step-by-step guide then click on how to install Arduino Button given Blow
Installing Libraries
Now when you are Ready to upload the code, to the Arduino Board you will need first to add the Following Libraries in Arduino, If you Learn How to add the library in the Arduino step-by-step guide click on how to install the library Button given Blow
Code
//For more Projects: www.arduinocircuit.com

#include <dht11.h>
#include <LiquidCrystal_I2C.h>
#define DHT11PIN 2 //  DATA -> Pin 2
#define ventilateurPIN 1 // Pin -> for Fan
LiquidCrystal_I2C lcd(0x27, 20, 4);

dht11 DHT11;

void setup()
{ pinMode(ventilateurPIN,OUTPUT); //sets the Pin 2 digital of the Arduino in output mode
lcd.init();
}

void loop()
{
DHT11.read(DHT11PIN);

lcd.backlight();
lcd.clear();
lcd.setCursor(0, 0);

lcd.print("temperature= ");
lcd.setCursor(0,1);
lcd.print((float)DHT11.temperature);

if ((float)DHT11.temperature >28) {
digitalWrite(ventilateurPIN,HIGH); // the fan starts to turn
}
else {
digitalWrite(ventilateurPIN,LOW); // the fan stops
}
delay(2000);
}
Applications
- Weather stations
- Greenhouses
- HVAC systems
- Home automation
- Industrial automation
Conclusion
In this project, we have built a cooling system with Arduino that uses a DTH11 temperature sensor to detect the temperature and turn on the fan when the temperature rises above a set limit. The LCD display shows the temperature, and the fan keeps running until the temperature goes back below the limit. This system can be used in various applications where temperature control is essential.
See Also