Introduction
This tutorial demonstrates how to Arduino Push Button LED ON/OFF Code | Arduino Tutorial. The push button will toggle the LEDs on and off in a specific sequence. This is a great introduction to basic programming concepts and can be easily modified to create more complex LED sequences.
Push buttons are a commonly used component in electronics projects, allowing for user input and control of various functions. In this tutorial, we will use a push button to control multiple LEDs, creating a simple but effective display. By wiring the LEDs to the Arduino board and programming the board to respond to button presses, we can easily switch between the different LEDs and create a visually appealing effect. This tutorial is a great introduction to working with buttons and LEDs in Arduino projects and can be easily adapted for more complex projects. So, let’s get started and learn how to control multiple LEDs with a push button!
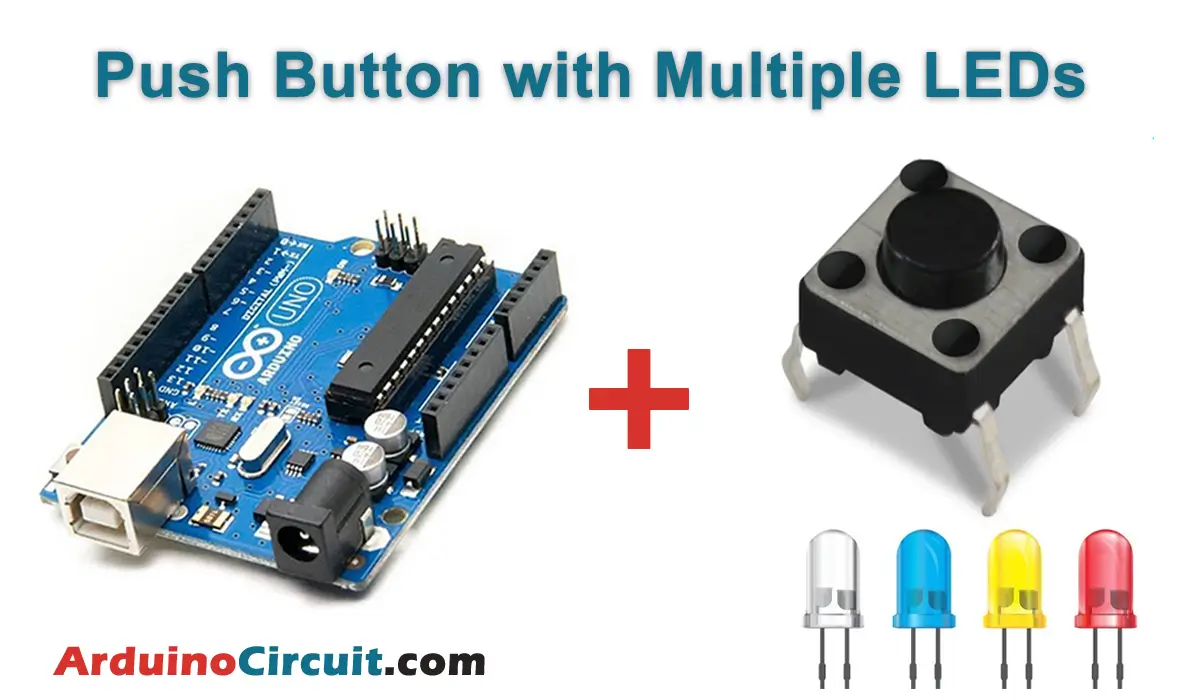
Hardware Required
You will need the following components for Arduino Push Button LED ON/OFF Code | Arduino Tutorial
| Components | # | Buy From Amazon |
|---|---|---|
| Arduino UNO | 1 | Buy Now |
| Push Button | 1 | Buy Now |
| LEDs (Different Color) | 4 | Buy Now |
| Resistors 220Ω | 4 | Buy Now |
| Resistors 10KΩ | 1 | Buy Now |
| Jumper Wires | Few | Buy Now |
| Breadboard | 1 | Buy Now |
Circuit Connection
To set up the circuit, connect four LEDs to Arduino digital pins 8, 9, 10, and 11. Connect the anode (positive leg) of each LED to the respective digital pin, and connect the cathode (negative leg) of each LED to a 220 Ω resistor. Connect the other end of each resistor to the ground. Connect a push button to digital pin 13.
Circuit Diagram

Working Explanations
The program starts by setting the four LED pins as outputs and the button pin as input. Then, it enters a loop where it checks the button state. If the button is pressed, it increments a counter and resets it to 0 if it reaches 4. Based on the value of the counter, the corresponding LED is turned on and all others are turned off.
Installing Arduino IDE Software
First, you will require to Download the updated version of Arduino IDE Software and Install it on your PC or laptop. if you Learn How to install the Arduino step-by-step guide then click on how to install Arduino Button given Blow
Code
Upload the following code and press the button to see the output Result.
//For more Projects: www.arduinocircuit.com

int ledPin[4] = {8, 9, 10, 11};

const int buttonPin = 13;
int buttonState = HIGH;
int pushCounter = 0;
int numberOfLED = 4;
void setup() {
  pinMode(buttonPin, INPUT);
  for (int i = 0; i <= 4; i++) {
    pinMode(ledPin[i], OUTPUT);
  }
}

void loop() {
  buttonState = digitalRead(buttonPin);
  if (buttonState == LOW) {
    for (int i = 0; i < numberOfLED; i++) {
      if (pushCounter % numberOfLED == i) {
        digitalWrite(ledPin[i], HIGH);
      }
      else {
        digitalWrite(ledPin[i], LOW);
      }
    }
    pushCounter++;
    delay(400);
  }
}
Applications
- The use of this project as a starting point for more advanced LED control projects.
- The use of this project as a simple game where the goal is to press the button at the right time to turn on all the LEDs in the correct sequence.
Conclusion
Controlling multiple LEDs with a push button is a great way to learn basic programming concepts and easily modify them to create more complex LED sequences. With a few modifications, this project can turn into a simple game or use as a starting point for more advanced LED control projects.