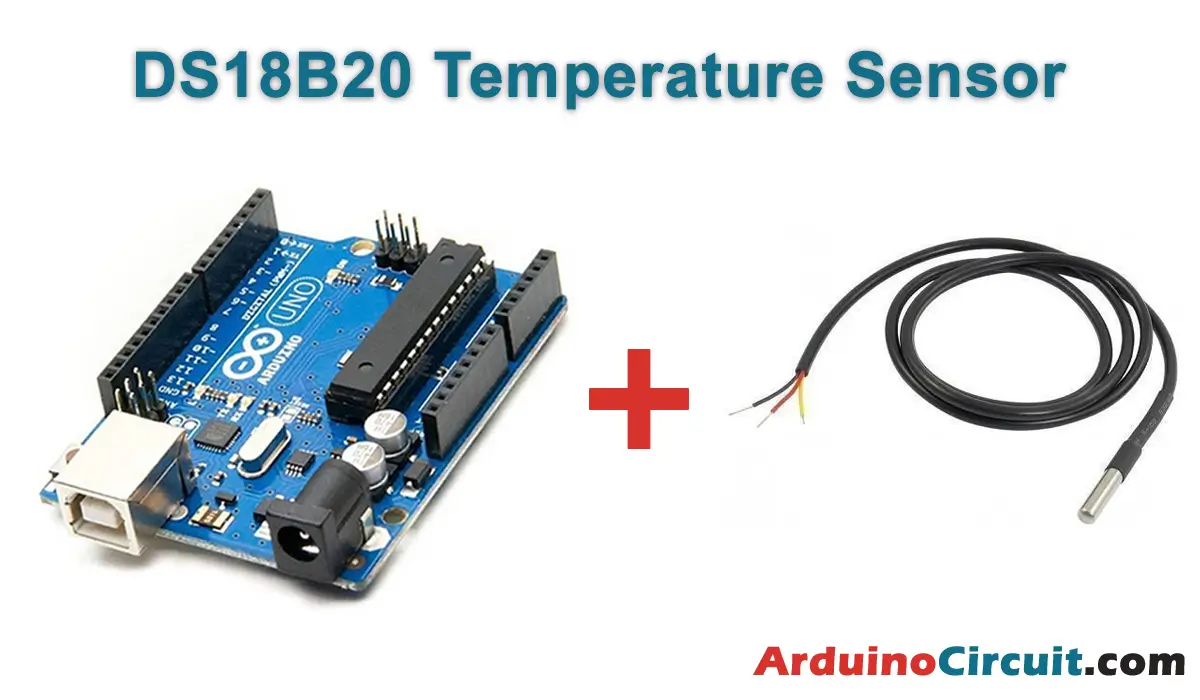
Introduction
In this tutorial, we are going to Measure Temperature with Arduino and LM35 Sensor, we will explore the versatility of the LM35 Sensor and its seamless integration with Arduino for accurate temperature readings. From weather monitoring to home automation, the LM35 opens up a wide array of exciting applications. Let’s embark on the fascinating journey of measuring temperature with Arduino and the reliable LM35 Sensor.
Hardware Required
You will require the following Hardware Components for interfacing the SensorModule with Arduino.
| Components | # | Buy From Amazon |
|---|---|---|
| Arduino UNO | 1 | Buy Link |
| Temperature Sensor LM35 | 1 | Buy Link |
| 9v DC Adapter (Optional) | 1 | Buy Link |
| Jumper Wires | 3 | Buy Link |
| Breadboard | 1 | Buy Link |
What is Temperature Sensor LM35?
The LM35 is an integrated precision temperature sensor. Unlike other devices such as thermistors in which the temperature measurement is obtained from the measurement of its electrical resistance, the LM35 is an IC with its own control circuit, which provides a voltage output proportional to the temperature.
The output of the LM35 is linear with temperature, increasing the value at the rate of 10mV for each degree centigrade. The measurement range is from -55ºC (-550mV) to 150ºC (1500mV). Its precision at room temperature is 0.5ºC.
LM35 sensors are relatively common in the world of electronics enthusiasts due to their low price and ease of use.
LM35 Sensor Features
- Minimum and Maximum Input Voltage is 35V and -2V respectively. Typically 5V.
- Can measure temperature ranging from -55°C to 150°C
- Output voltage is directly proportional (Linear) to temperature (i.e.) there will be a rise of 10mV (0.01V) for every 1°C rise in temperature.
- ±0.5°C Accuracy
- Drain current is less than 60uA
- Low cost temperature sensor
- Small and hence suitable for remote applications
- Available in TO-92, TO-220, TO-CAN and SOIC package
Pinout of LM35 Sensor

LM35 Sensor Pinout Configuration
| Pin Number | Pin Name | Description |
| 1 | Vcc | Input voltage is +5V for typical applications |
| 2 | Analog Out | There will be increase in 10mV for raise of every 1°C. Can range from -1V(-55°C) to 6V(150°C) |
| 3 | Ground | Connected to the ground of circuit |
Circuit Diagram
The following circuit shows you the connection of the Measure Temperature with Arduino and LM35 Sensor Please make the connection carefully

Installing Arduino IDE Software
First, you will require to Download the updated version of Arduino IDE Software and Install it on your PC or laptop. if you Learn How to install the Arduino step-by-step guide then click on how to install Arduino Button given Blow
Code Samples
//For more Projects: www.arduinocircuit.com


const int sensorPin= A0;

void setup()
{
  Serial.begin(9600);
}

void loop()
{
  int value = analogRead(sensorPin);
  float millivolts = (value / 1023.0) * 5000;
  float celsius = millivolts / 10;
  Serial.print(celsius);
  Serial.println(" C");
  delay(1000);
}
Applications
- Weather Stations and Environmental Monitoring: The LM35 Sensor is a perfect fit for weather stations and environmental monitoring systems.
- Home Thermostats and Climate Control: In home automation projects, the LM35 Sensor plays a crucial role in creating smart thermostats and climate control systems.
- Temperature Monitoring in Industrial Settings: In industrial applications, the LM35 Sensor can be used to monitor the temperature of machinery, equipment, or processes.
- Health and Medical Devices: The LM35 Sensor finds applications in healthcare, enabling temperature measurement in medical devices.


